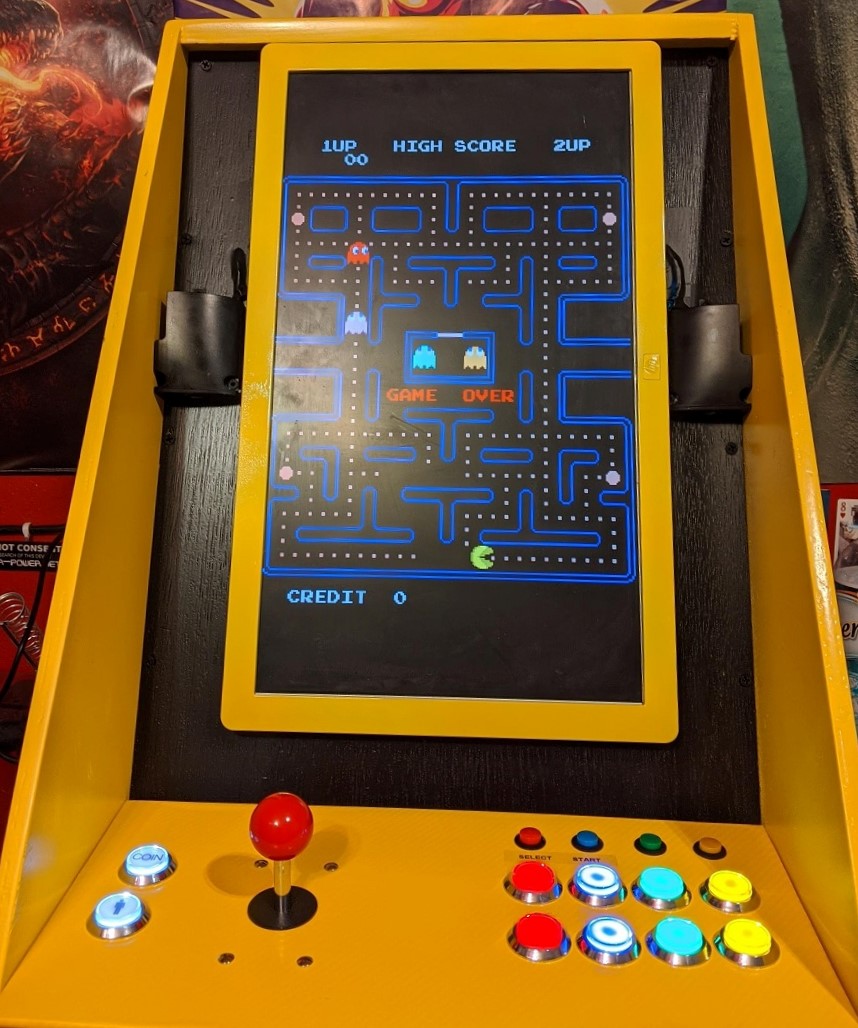
The EG Starts encoder board is an USB video game control encoder board is usually available on Amazon.com for a very cheap price.
It is perfect for building an arcade cabinet or custom “old school” controller. You can plug it into a PC, a Linux machine, a Raspberry PI, probably even into one of those fancy Mac’s.
It is also very confusing & there is not much documentation online about it. I will show you how to wire it the proper way. I will also explain what the MODE, CLEAR, TURBO & AUTO buttons are for.
Important information about the EG Starts encoder board:
- Supports 12 buttons (can’t remap the special buttons).
- Supports 1 joystick (mechanical, not analog)
- 3x 5V power connectors for LED’s
- 2 modes (digital / analog style)
- Buttons 9 & 10 don’t have to be used for SEL & START.
- Some boards have a USB header plug instead of a “B” plug.
Wiring the buttons.

The joysticks can be used on the 5 pin connectors or the (4) 2 pin connectors, but they are linked (meaning if you wire 2 sticks up, they will function the same). The buttons hook up in between the black & yellow wires (no polarity). There is an optional LED connector also, if you use it; wire the red wire to the LED + & the black wire to the LED – on your button. The LED is constantly lit. Wire buttons (optional) to the special buttons if you want them. Wire any extra LEDs to the external power connectors.
Note: you might need a resistor for your LED, check your LED’s specs.
Alternate wiring.
You can optionally set up LED lights on the EG Starts encoder board. It is normally lit all of the time, but. Use this trick to light the button only when it is pressed. You will need to carefully pull the yellow & black wires out of the housing & switch them. This will not work on the ribbon cable types.

Mapping the board to your emulator.
This EG Starts encoder board shows up as a standard game pad, so you will need to do some remapping in your emulator to get it to work properly. I’ll show you how I mapped mine.

Different emulators have different ways to set up your buttons, so you will need to read their instructions. I will tell you that most of the modern ones walk you through it at the first startup. There can also be a lot of trial & error to get things to work like you want them to. If you are using the MAME system, it is really confusing. I might add more instructions later.
What do the “special” buttons do?
MODE: Switches between digital or analog style. This just changes the way the controller appears to the computer. In analog mode (default) the computer uses the analog stick, in digital it uses the D-pad inputs. This does not make the controller true analog; it just changes the part of the controller that is mapped.
TURBO: Hold the turbo button then press any of the 1-12 buttons to set that button that turbo, causing it for fire multiple times while you hold the button down.
AUTO: Similar to turbo, but causes the button to fire nonstop, as in all the time. Pretty annoying.
CLEAR: Hold the clear button then press any of the 1-12 buttons to stop the turbo or auto modes on them.
Here are my arcade assignments for my mini-MAME / Console cabinet.
EG Starts encoder board
You might have searched for: eg starts manual, zero delay usb encoder manual, zero delay usb encoder wiring diagram, zero delay usb encoder button mapping, eg starts usb encoder manual.
Thanks a lot for showing how the button is wired inside , couldn’t find it anywhere!
I m working on a acade like controller but i’d want to control the leds individually using arduino.
I know how you feel, I searched forever trying to figure it out. Now I have a cool arcade machine. Hope your project goes well.
All Zero Delay USB Joystick Controllers CY-822A (2 wire) and CY-822B (3-wire) all use common +5V and not the North American Common Gnd setup for cars. China does not follow any colour standards,so Red can be +5V or Gnd and the same for Black wire. 2-Wire are Red is +5V, Black is signal (or Gnd). 3-wire are Red is Gnd, Black is +5V (or signal), Yellow is signal (or +5V), state of Always-on (or Lit-when-pressed). K1-K12 outside edge of boards are usually Common (+5V). Everyone makes this mistake with common Gnd. Comnon is common and the manufacture decides if it is +ve or -ve. Old British cars use to use common +ve from the battery.
Common is probably the more correct term than ground, but I’m just going by what I have always been taught. Either way, it works.
First, THANK YOU for this article…it explained so much. What I’m trying to figure out is if there is a way to insert some sort of power button prior to where the USB plugs in. I’ve got led buttons that light constantly. I’d like to be able to turn the box off but I don’t know what to search for online to point me in the right direction. Any tips? Thanks
You woulld probably need to cut a trace on the board, but I have no idea which one.